How to Resize Artwork
in Illustrator & Photoshop
Simple tutorial for Illustrator and Photoshop
Resize Artwork in Illustrator
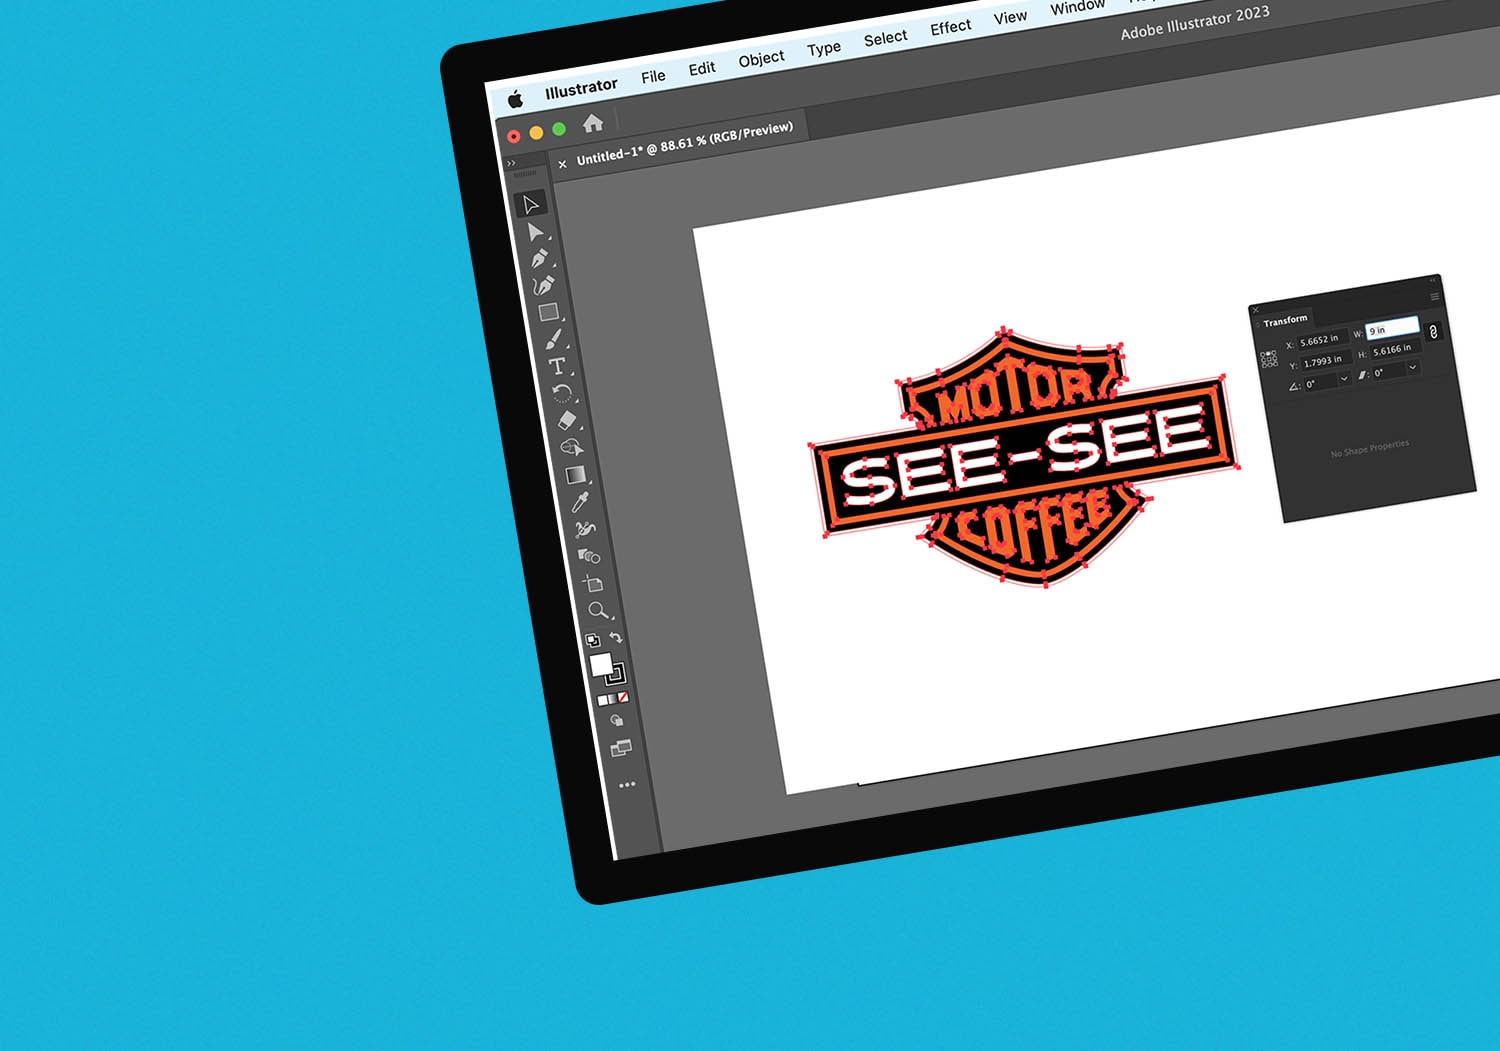
Taking some of the lessons you have already learned previously, you are only a step away from resizing artwork in Illustrator. Since you have a good vector file, now to resize is as easy as entering a dimension.
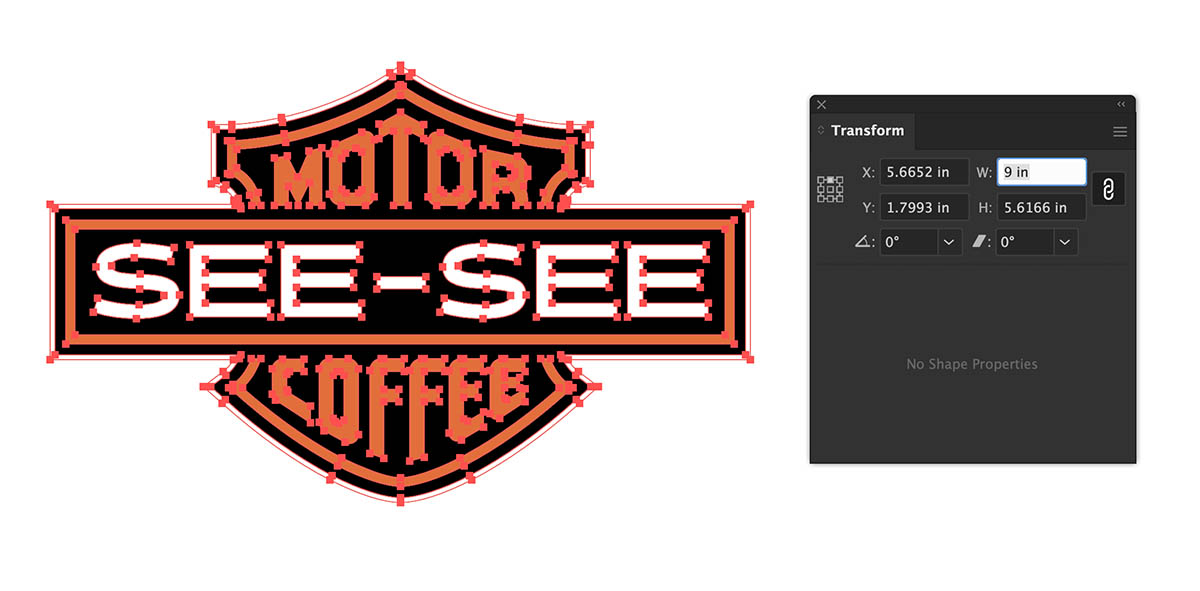
1. Once you have your file open, hit Alt + 0 on PC or ⌘ + 0 on Mac to bring the artwork to front and center. Hit Ctrl + A on PC or ⌘ + A to select all the art in your file. Look in the top bar or Transform window and you’ll see the width and height of your selection.
2. To resize to a new dimensions, with the Constraint Width and Height Proportions  link clicked, enter a new height or width dimension and hit enter which will then scale your image proportionally.
Resizing in Photoshop
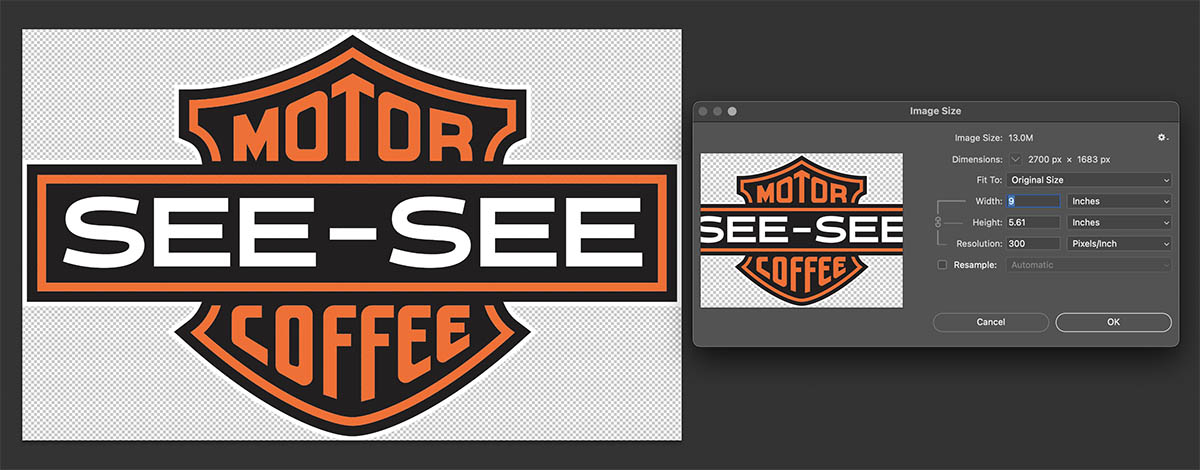
In this lesson you were only one step away from resizing your image after cropping your artboard which you learned in the Finding Dimensions lesson.
Once your image is cropped, navigate to Image < Image Size… and the size of your image will be displayed. With the Proportions Constraint  clicked you can type in a new dimension in either Width or Height and hit OK.
This is a great time to double check that your image is of proper resolution and a usable file as covered in the Vector Vs Raster Lesson.
Need Help?
From designing to formatting, our creative department can help you end up with awesome goods you’ll love. Just let us know what you you’re looking for by starting an order, and a team member will get back to you with answers.
